
Sanitary drainage materials
Build a clear request for floor gullies, traps, siphons and internal drainage fittings. Separate each outlet, its connecting path and the waterproofing interface so suppliers can price the same drainage scope.
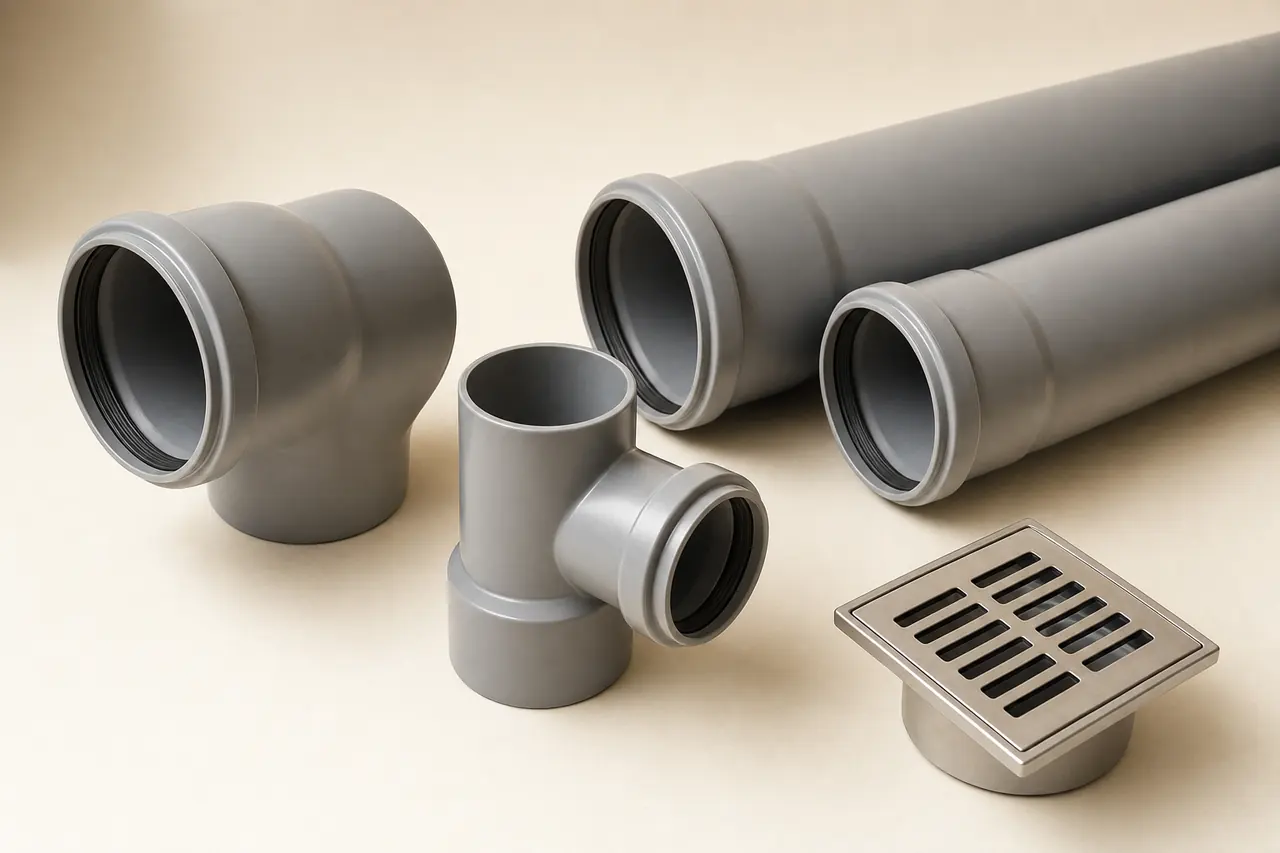
Start with the right material groups.
Floor gullies and outlets
List each gully by floor, room type and outlet position. Separate the visible body from the trap, grating and any connection piece.
Traps and siphons
Identify traps and siphons by connection size, seal type and access point. Group items serving the same line but keep each unit measurable.
Internal drainage fittings
Cover bends, branches, reducers and adapters between the outlet and the main stack. State which side of each connection belongs to this package.
A material price is only part of the package.
One schedule, clearly separated scopes. This is a request outline, not an installation drawing.
Included materials
List floor gully bodies, traps, siphons, gratings and internal drainage fittings as separate measurable lines.
Connections & interfaces
Identify the interface with waterproofing, screed, floor finish and the main drainage pipe for each connected outlet.
Confirm separately
Confirm cleaning, handling, installation and the leak tests or commissioning specified by the project as included or separately provided responsibilities.
Six details that make offers clearer.
- Product designation and location
- Enter the exact product name, room or zone reference, and the outlet position required by the approved layout.
- Flow path and outlet size
- Record the prescribed flow requirement, outlet diameter and the direction of the connected pipe run.
- Trap and seal configuration
- State the required trap form, access point and seal depth for each outlet. Note where a separate cleanout is specified.
- Grating and cover finish
- Describe the visible grating or cover finish, load requirement and whether the finish must match the surrounding floor material.
- Connection and waterproofing interface
- Ask for the connection detail between the drainage body, screed and waterproofing layer as defined in the project package.
- Documents and packaging
- Request referenced product sheets, declared deviations and packaging details by line item and delivery phase.
| Item & description | Quantity |
|---|---|
| SD-01Floor gully body with grating and trap for wet area A; connection direction and finish per project schedule. | 18 each |
| SD-02Adapter fittings between floor outlet and main drainage pipe; size and joint type per approved layout. | 36 each |
Example quantities only; no live prices or supplier offers. Use your project schedule for final values and ask suppliers to list deviations.
Three checks before you decide.
Outlet body versus complete gully
Compare whether the price includes the grating, trap, clamping ring and connection adapter before selecting the lower total.
Each floor type and finish
Check the cover finish and floor build-up for each room. A gully suited to one screed depth may not fit another.
Drainage line and shared fittings
Confirm which supplier provides the pipe between the outlet and the stack, especially where multiple floors share one riser.
Details worth clarifying early.
Should floor gullies and drainage pipes be requested together?
Keep them in separate line groups within the same request. The gully package covers the outlet and its immediate trap, while the pipe line lists the connected run and fittings.
How do I describe a gully when the room finish is not final?
Enter the approved floor build-up and the planned finish reference. Ask the supplier to state cover options compatible with that build-up instead of guessing one.
What should I list for a bathroom with multiple outlets?
Create one line for each outlet position, including the shower gully, floor drain and any visible siphon. This keeps quantities traceable when positions change.
Turn your material schedule into a request.
Create a Matravo account to prepare your request. For account or sourcing-flow questions, visit support.