
Finishes and flooring, coordinated room by room.
Bring ceramic, wood and resilient flooring, paints, plaster and raised floors into a clear finish schedule. Connect every visible surface to its substrate, accessory scope and sample reference.
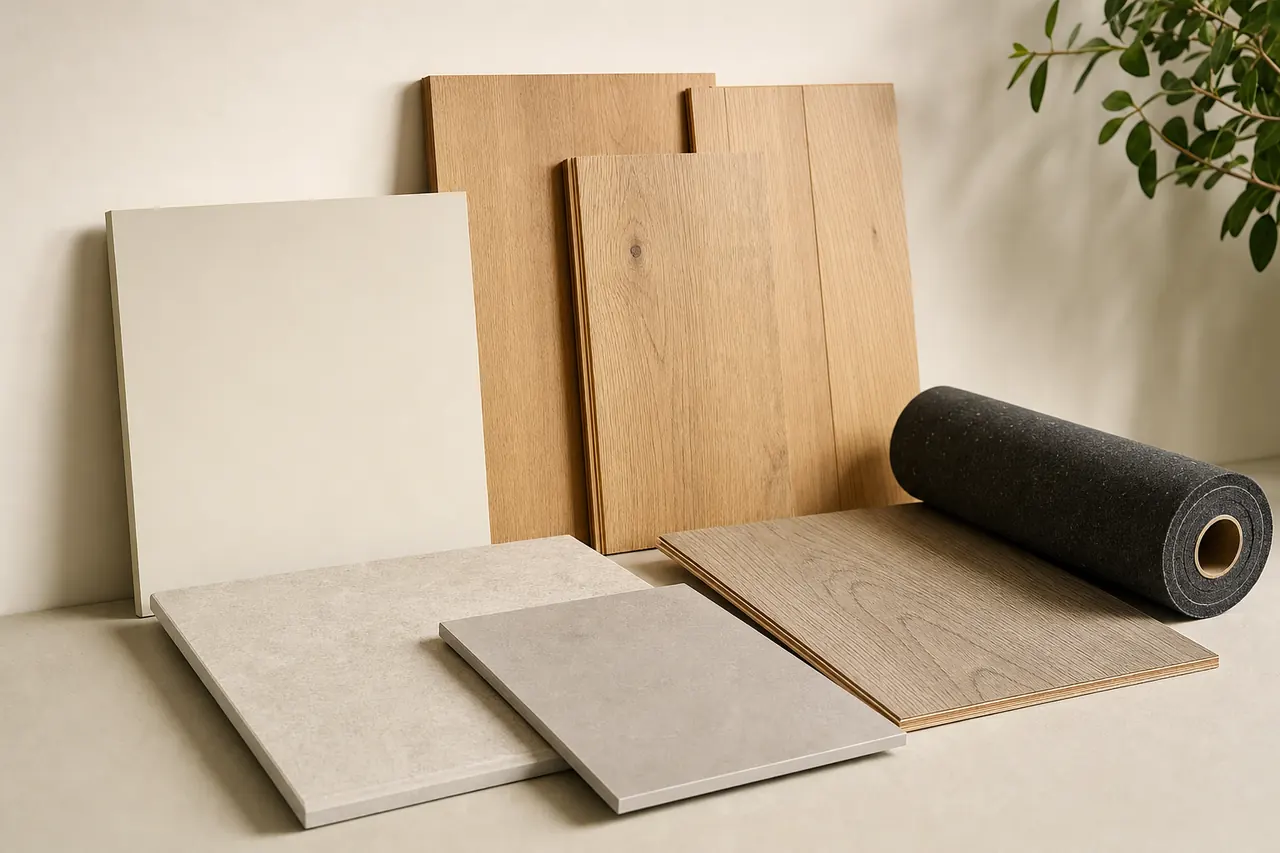
Start with the right material groups.
Floor finishes
For fit-outs and circulation areas, separate ceramic, wood and resilient products by room and intended use. Specify the surface, format and substrate interface.
Paints and plaster
For walls and ceilings, name the prepared surface and requested finish system. A finish coat, primer and substrate repair should not be treated as the same item.
Raised access floors
For technical office areas, describe panels, supports, edge details and access requirements as a coordinated package, using the project floor schedule.
A material price is only part of the package.
One schedule, clearly separated scopes. This is a request outline, not an installation drawing.
Included materials
Link each finish to a room or zone, with measured area, sample reference and clear product description.
Connections & interfaces
Allocate preparation, underlay, adhesive, skirting and transition profiles explicitly between the finishing packages.
Confirm separately
Confirm substrate repairs, installation, protection and waste removal separately instead of assuming an installed finish.
Six details that make offers clearer.
- Room and substrate
- Identify where each finish goes and the surface it will meet so suppliers can flag compatibility questions.
- Material and sample
- Use an approved sample or finish reference for colour and texture; a generic photograph is not the acceptance reference.
- Size and thickness
- Record product dimensions and formats so adjacent finishes and transitions can be coordinated.
- Project requirements
- List the specified performance for the location and request evidence for proposed alternatives.
- Area and allowance
- Separate net area from stated cutting or reserve quantities; use the same basis for every offer.
- Preparation and edges
- List primers, underlay, skirting and transition details as included or separately measured items.
| Item & description | Quantity |
|---|---|
| F-01Floor finish for office A; material and sample per room schedule, underlay stated separately. | 420 m² |
| F-02Transition profiles between finishes; profile and finish per detail. | 36 m |
Example quantities only; no live prices or supplier offers. Use your project schedule for final values and ask suppliers to list deviations.
Three checks before you decide.
Same area basis
Check net area, cutting allowance and pack rounding before comparing the total material quantity.
Complete accessory scope
Compare preparation materials, underlay and edge profiles alongside the main finish.
Samples and batches
Agree the sample process and visible batch/colour requirements for adjoining areas.
Details worth clarifying early.
How is this different from the ceramic guide?
Use this page to coordinate mixed finish packages. The ceramic guide goes deeper into tile dimensions, surface, edges and batch questions.
Should skirting and transition profiles be measured?
Identify them separately with their units, even when a supplier includes them in a package. The breakdown reveals missing accessories.
Turn your material schedule into a request.
Create a Matravo account to prepare your request. For account or sourcing-flow questions, visit support.