
Suspended ceiling panels and grid components
Separate the visible ceiling panel from the suspension grid, hangers, edge trim and service openings. Measure the ceiling by zone and tell suppliers which accessories belong to each reference.
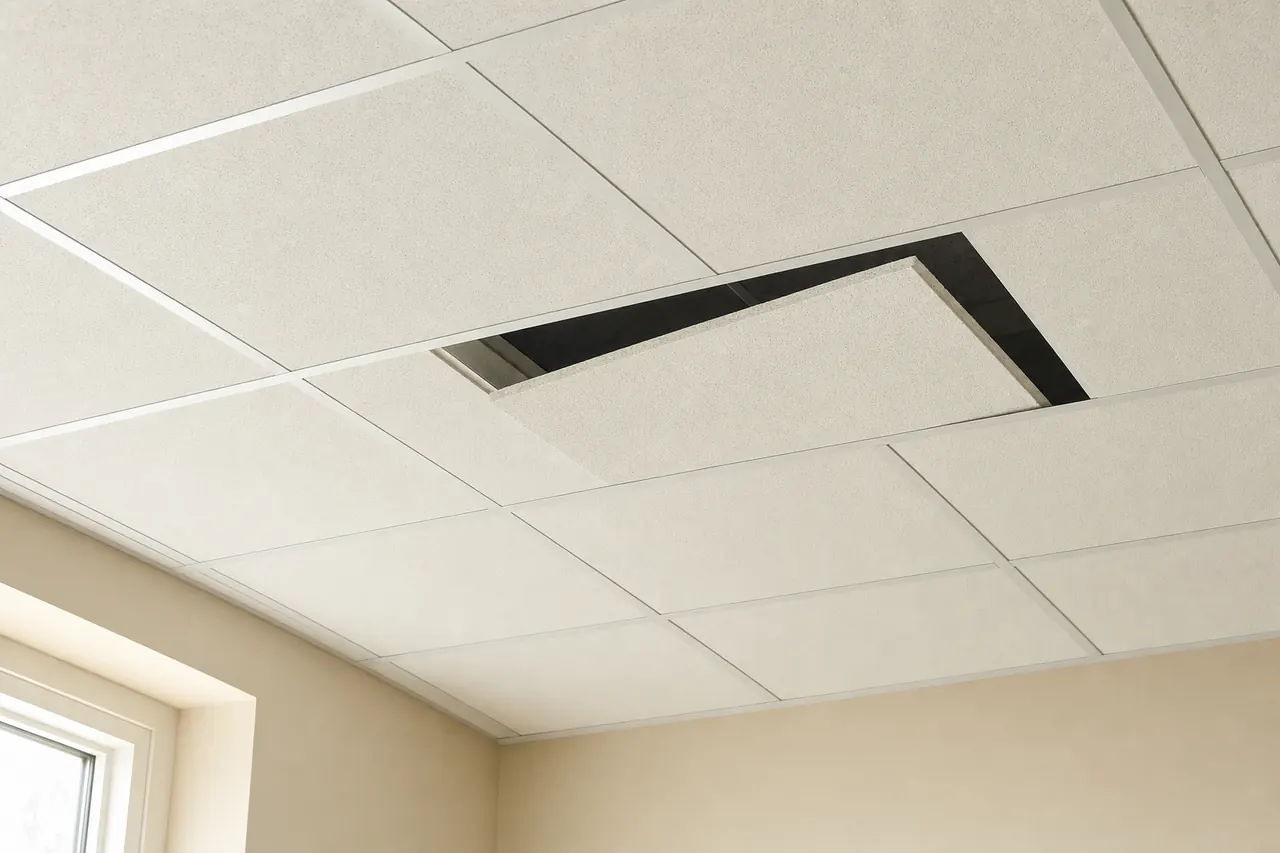
Start with the right material groups.
Panel and tile selection
Define the ceiling unit by material, format, edge detail and surface. Keep acoustic, perforated and plain panels on separate lines so the schedule matches the reflected ceiling plan.
Suspension grid and hangers
List main runners, cross tees, hangers and perimeter trim by ceiling reference. Differentiate seismic or heavy-duty suspension where the project details require it.
Service coordination
Identify lighting, diffuser, sprinkler and access locations from the ceiling plan. Clarify which openings the ceiling supplier prices and which are cut by services contractors.
A material price is only part of the package.
One schedule, clearly separated scopes. This is a request outline, not an installation drawing.
Included materials
Ceiling panels, tiles, grids, hangers and edge trim for each identified suspended ceiling zone.
Connections & interfaces
Cutouts, access panels, trims and interface details that fall within the ceiling package.
Confirm separately
Confirm installation, access equipment, required clearance in the ceiling void, inspection and service coordination responsibilities separately.
Six details that make offers clearer.
- Exact product designation
- State the panel or tile designation, material and edge configuration specified for each ceiling reference.
- Project-prescribed performance
- Identify the project requirements for fire, acoustic or load performance that the proposed ceiling assembly must document.
- Grid and perimeter layout
- Describe module direction, grid spacing, hanger pattern and perimeter trim to be included with the panel quantity.
- Service openings and access
- List lighting, diffuser, sprinkler and access locations so the ceiling package shows opening allowances and framed panels.
- Edge and junction treatment
- Define transitions at walls, column heads, soffits and adjacent ceiling levels with the detail reference.
- Quantity basis
- Separate net ceiling area from grid linear meters, hanger counts and edge trim meters with an agreed cutting allowance.
| Item & description | Quantity |
|---|---|
| SC-01Acoustic tile ceiling zone G-02; tile size, face pattern and edge detail per reflected ceiling plan. | 480 m² |
| SC-02Hanger sets for ceiling zone G-02; set components and fixing arrangement per approved detail. | 320 sets |
Example quantities only; no live prices or supplier offers. Use your project schedule for final values and ask suppliers to list deviations.
Three checks before you decide.
Panel to grid alignment
Compare the selected panel module with the grid layout so tile size and runner spacing cannot drift apart in pricing.
Opening responsibility
Confirm who forms and frames each service opening and which access panels are included in the ceiling quantity.
Zone listing
Review each ceiling line against a reflected ceiling plan reference so panel, perimeter and hanger quantities have the same basis.
Details worth clarifying early.
How do I separate tile area from grid material?
List ceiling area by zone, then itemize main runners, cross tees, hangers and perimeter trim by module and length. This lets prices be traced when one zone changes finish or level.
Which service openings should the ceiling supplier include?
Transfer each lighting, diffuser, sprinkler or maintenance point from the reflected ceiling plan to the ceiling schedule and state who frames the opening and who supplies the access panel.
Turn your material schedule into a request.
Create a Matravo account to prepare your request. For account or sourcing-flow questions, visit support.